
PC power supply. Acquisition and Assembly.
How to choose a power supply for your computer
What does an “ATX” PC source mean? ATX stands for Advanced Technology eXtended. In short, it defines a set of standards in measurements and shapes that help transform things like computer power supplies interchangeable with each other.
We are writing this article about choosing the right power supply for your computer to help you make decisions. Whether you purchase a power supply for your new computer or replace one for an existing one, we hope the following information will help you in this process.
The first question you ask yourself is, “Is my power supply an ATX form factor?” If you are looking for an ATX power supply, make sure that the power supply is really ATX, not micro ATX or another, as it will not fit.
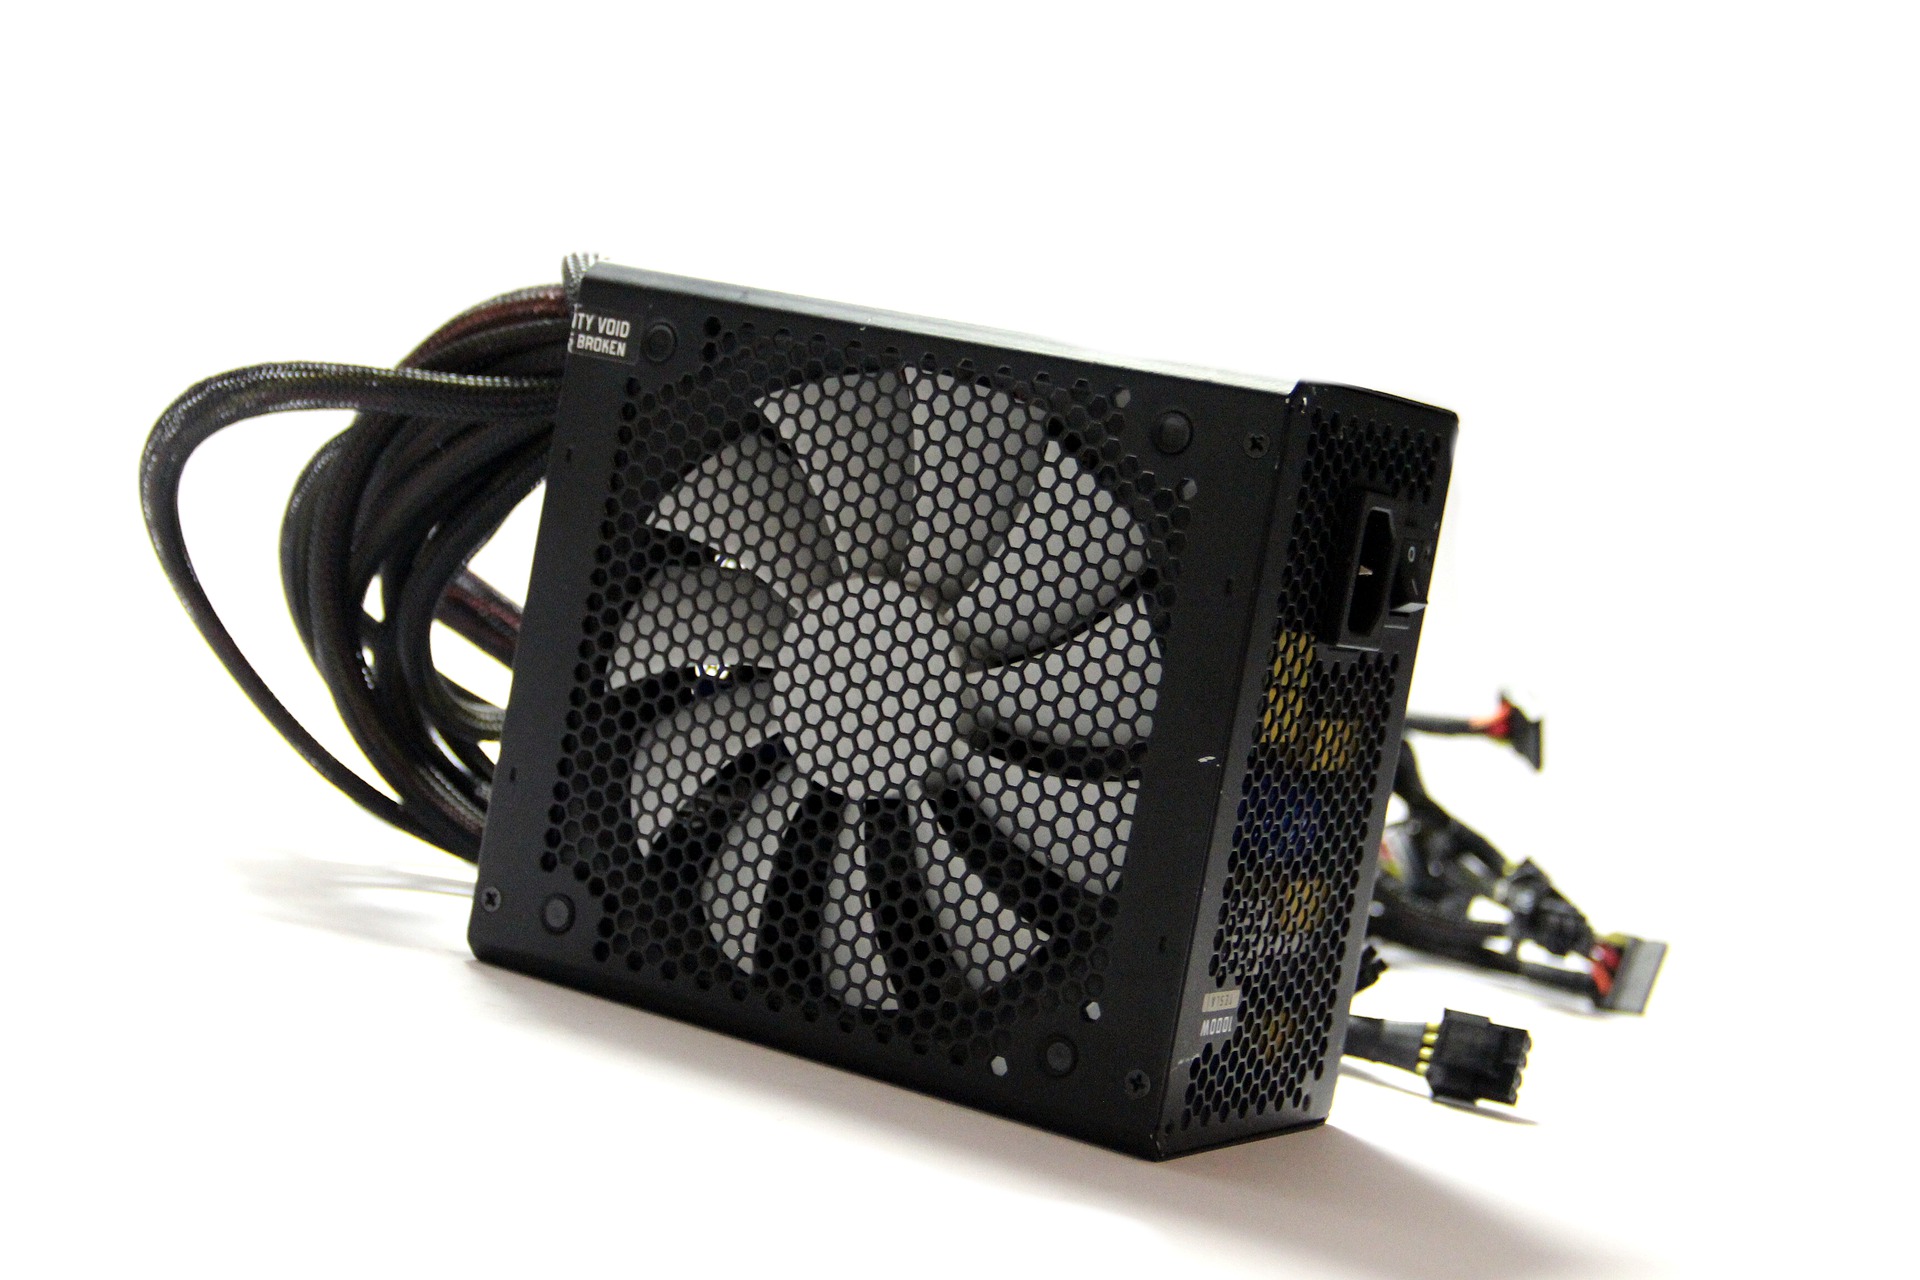
PC power supply with known form factor or by comparission method
Perhaps the best method to use in selecting a power supply is to compare physical dimensions. Ensuring that the source can be housed by the housing used, the height, width and depth of the power supply must be compared with the replacement. If you are replacing an existing power supply, then measure it before purchasing a new one.
If your power supply is considerably smaller than the typical size of atx power supplies, you may be able to have a micro atx power supply. If you think you might have a micro atx power supply, then you can compare its dimensions to a micro atx PC power supply.
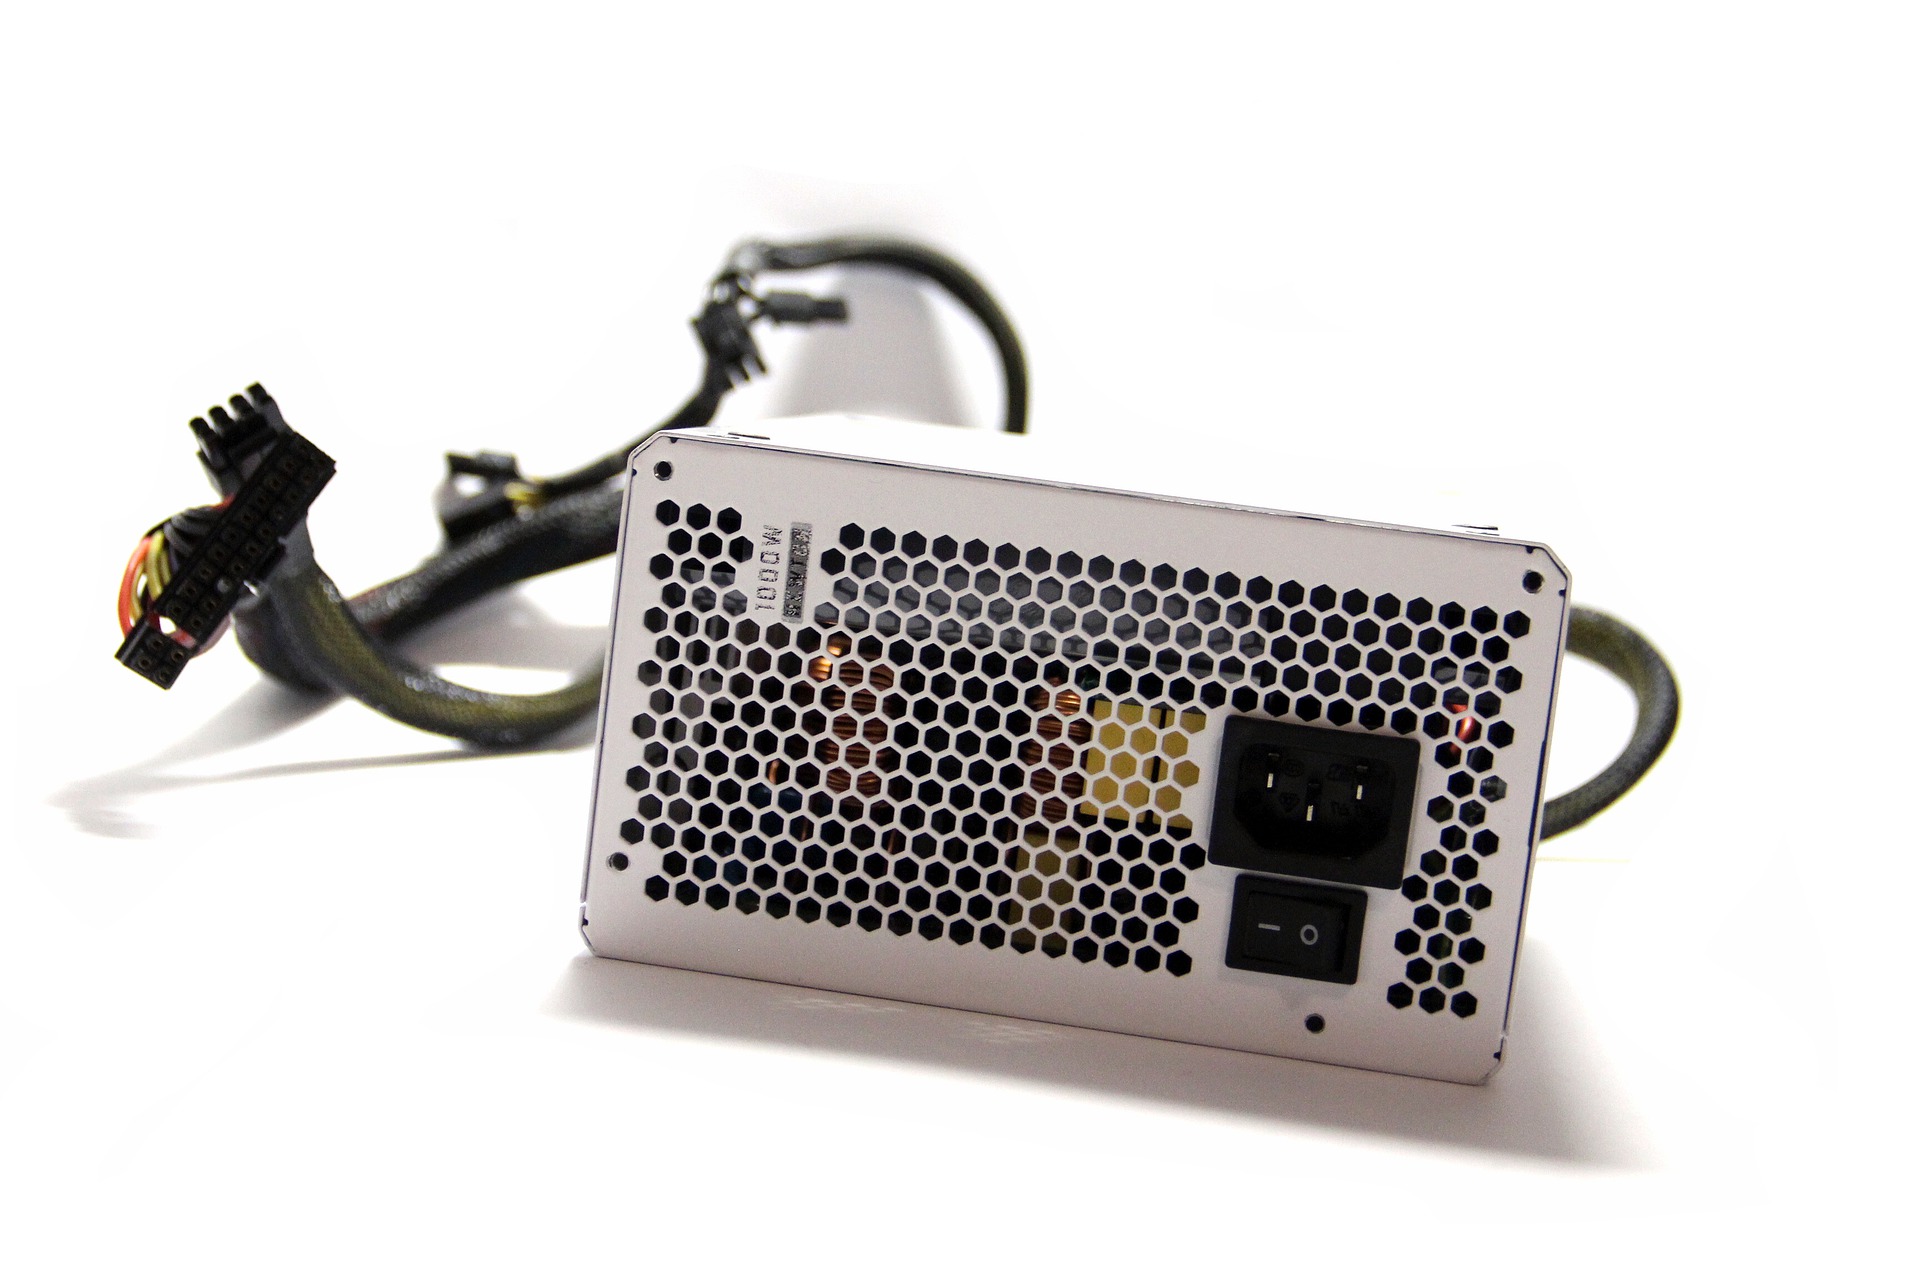
Once you have chosen the power supply based on your physical size, you need to take a look at the connectors you need for the power supply. Different power supplies have different connectors, so it is best to choose a power supply with the necessary connectors that meets all the power needs of all computer components.
It’s okay if you buy a power supply and don’t use some connectors. You can leave them offline. Most PCs also have cables with backup connectors. Below are pictures of some common connectors found on atx power supplies.
PC power supply assembly
20-pin ATX connector – The 20-pin ATX connector that plugs into an atx motherboard. If the motherboard has a slot for the 20-pin connector shown in the graphic, you can be almost 100% sure that an ATX power supply is needed for the motherboard.
Be sure to pay close attention to the number of pins. On some computers, this connector contains 24 pins instead of 20 pins.
24-pin ATX connector – Some computer motherboards require a 24-pin ATX connector. All modern sources have the 4 extra removable pins. So they will power both new motherboards and older generation motherboards.
4-pin IDE connector (also called molex connector) – This is the IDE connector that powers hard disks and DVD optical drives. Most atx power supplies have 4 such connectors included. If you need more than 4 connectors, it is best to buy y-splitters to increase the number of connectors. Purchasing power supplies with more than 4 connectors can often be much more expensive than purchasing a y-splitter.
Sata Connector – Today’s hard drives, SSDs and optical drives will be powered using sata connectors, making them the most popular.
You need to know how much power you will need. It is okay to buy a power supply larger than the total requirement dictated by the maximum consumption of each component of the computer. On the other hand, buying a power supply that is equal to or below the maximum cumulative requirement of all components is something to avoid.
What is a PC power supply and how to install it in a desktop PC?
The power supply delivers the power needed to operate the entire desktop PC system.
Safety measures and opening of the housing.
The power supply also has the ability to hold large electrical charges in capacitors with high values of 400V, even after you have disconnected it. It is good to know these things in advance so that we do not make mistakes or get hurt, or cause damage to other components. Set the voltage switch to position 0 or off, if it exists. Some sources do not have such a switch of their own.
The first step is to open the PC case. If you have a mini-tower, middle-tower or mini ATX, it matters because in the case of mini atx the housing can have a different opening. Usually unscrew the side or front panel.
Align and secure the PC power supply.
The next step in learning how to install a desktop power supply is to align it with the case and then
to insure it correctly. The power supply has four mounting holes that fit the four mounting holes on the back of the computer case. You will also notice that the power supply is a fairly heavy component.
You will need to insert the power supply into the computer and align the mounting holes with those of the computer case, and then use a screwdriver to secure it with its screws.
Some computer cases have small sills on which you can place the power supply, making it easier to assemble. Learning how to install computer components requires a little patience as well as a certain skill on the part of the technician.
Connect the main power cord to the system board.
You will connect the power supply to the motherboard. The most common type of these are ATX connectors. These are standard 24-pin cables. If you have a newer computer to install, you may also need to connect a 4 or 8-pin 12v connector to the system board. This connector is used to power the processor separately. Modern sources will also have 4-by-4 detachable pins to power all types of motherboards, both older and newer or with more powerful processors.
Connect the PC power supply for the internal devices.
Connectors commonly known as “molex” connectors are now used more to power RGB coolers or controllers. SATA power connectors, usually black, are used to power SSD, HDD, and DVD-RW optical drives.
Connect the power cord to the wall outlet, and turn on the PC.
You’re almost done. Re-check the connections between the power supply and the motherboard (20-24 pins and 4-8 pins) as well as the connections to the other components (SATA, Molex, PCI-Express). Make sure all these connections are secure and fully inserted.
If so, you are ready to connect the power cord to the outlet and turn on the system. Close the computer cover by replacing the cover and screwing it on. First, connect the power cord to the power supply. Then attach the AC cord to the wall outlet or extension cord and set the power switch to position 1 (on). Turn on the computer.
If you followed these steps in order, you will hear the soothing noise of the fans, which proves that the source correctly provides the power needed by the computer to start. Then check the optional SSD, HDD, DVD-ROM / RW drives in your operating system to make sure they are working properly.
The PC power supply is now properly installed
You’ve learned how to install a PC power supply. It is an achievement you can be proud of! Although installing a desktop PC power supply can be a challenge for beginners, we are confident that we have made it fairly straightforward.